How to Setup a Gemini Capsule/Website on a Google Cloud Compute Instance

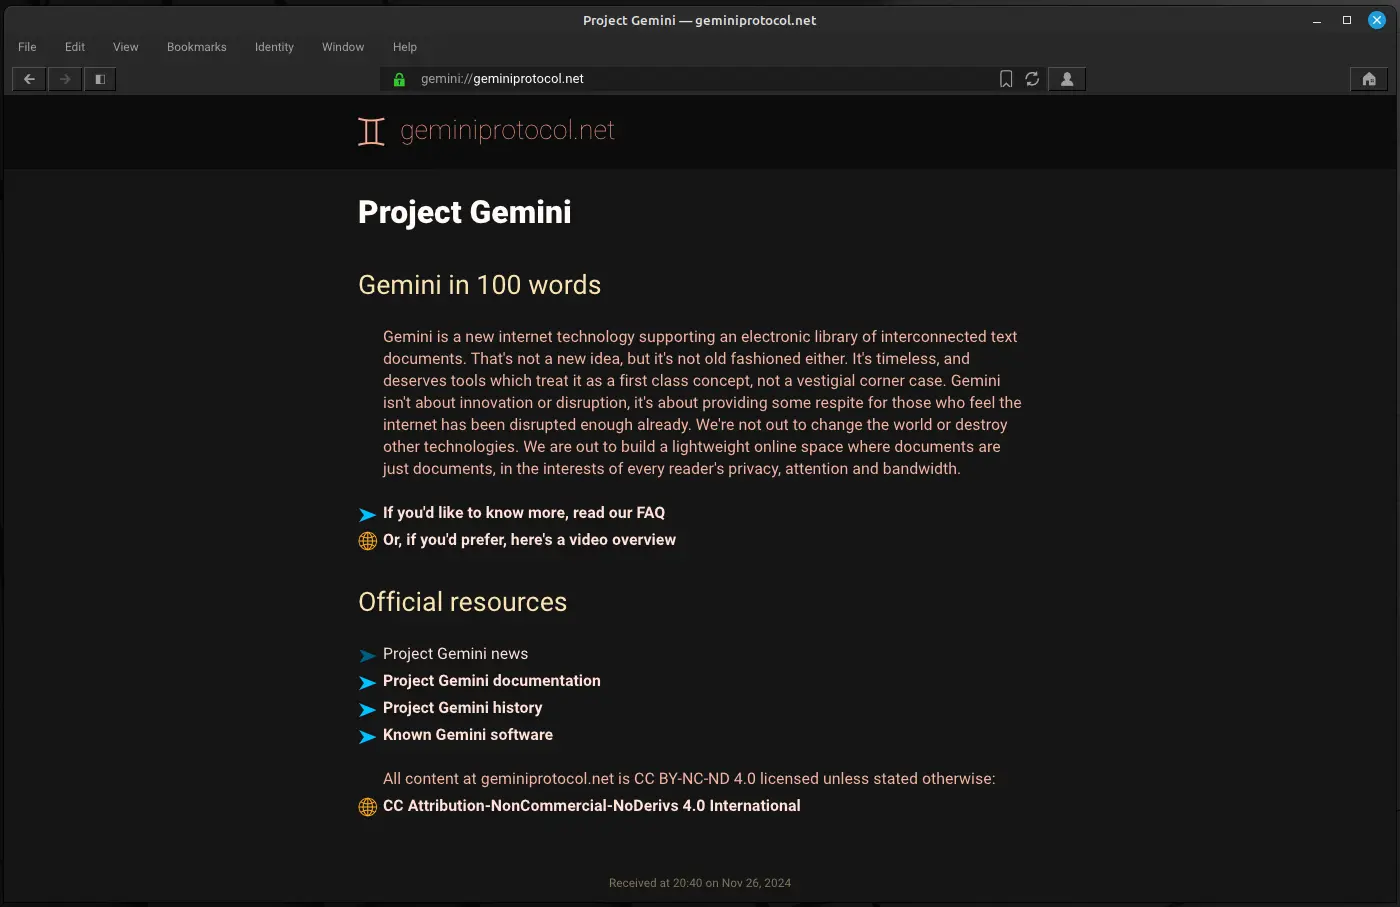
Gemini is a lightweight internet protocol designed for accessing remote documents, bridging simplicity and privacy. Positioned between HTTP and Gopher, it features a minimalist, text-focused approach with a unique document format called “gem text,” which allows basic styling and linking. Gemini emphasizes low bandwidth usage, user control, and a distraction-free browsing experience.
In this article, I will demonstrate how to set up a Gemini website, often called a “capsule,” on a Google Cloud compute instance running Debian 12 or similar. In principle, this tutorial should be applicable to any Linux box, whether on the cloud, VPS, or home, as long as you have sudo privileges and can open the required ports.
Create a User Account for Gemini and Necessary Folders
For multiple purposes, it’s more convenient to create gemini as a user account and place the server software and the capsule content in the home directory of the newly created gemini account. To do so, log in as an existing user with sudo privileges and execute:
sudo useradd -m -s /bin/bash gemini
sudo passwd gemini
Now login as gemini, and in the home directory, create bin and capsule folders for the server software and the capsule content, respectively.
mkdir bin capsuleInside the capsule folder, create an index.gmi gem text file with “Hello World”.
echo "Hello World" > capsule/index.gmiOpen the Required Port
Before we set up the Gemini server, we need to make sure that the required port on which the server will be listening is open. On a Google Cloud instance, go to your “VM instances” page, navigate to “Set up firewall rules,” and create a new firewall rule. Gemini listens on the TCP port 1965 by default.
Upon creating the new rule, your firewall rules table should look something like the below:
| Name | Type | Targets | Filters | Protocols/ports | Action | Priority | Network |
|---|---|---|---|---|---|---|---|
| gemini | Ingress | Apply to all | IP ranges: 0.0.0.0/0 | tcp:1965 | Allow | 1000 | default |
Note: If you are installing Gemini on a home server like a Raspberry Pi, you may have to open the port using ufw and enable port forwarding in your router.
DNS Setting
While setting up the port required by Gemini, either on a Google Cloud instance or home server, you must also ensure that you have the correct DNS settings. This is usually an A record pointing to your server’s IP address. You may already have it set up correctly if you run a web server on the same machine, such as NGINX or Apache, so no further steps are needed. If not, find more information about this from your domain name provider.
Setup the Agate Server
To serve your Gemini capsule, we will use the Agate server.
Agate is a server for the Gemini network protocol, built with the Rust programming language. Agate has very few features, and can only serve static files. It uses async I/O, and should be quite efficient even when running on low-end hardware and serving many concurrent requests.
Although Agate is a simple server with few options, it’s good enough for a beginner setup, and that’s also what I am using for my capsule at gemini://rohitfarmer.com. For a comprehensive list of server software, please check out https://github.com/kr1sp1n/awesome-gemini?tab=readme-ov-file#servers.
Download the Agate Linux binary file and place it in the bin folder that you created above. At the time of writing this post, version 3.3.10 was the latest. After downloading the .gz file, unzip it and, for convenience, shorten the long file name to just agate.
cd bin
wget -c https://github.com/mbrubeck/agate/releases/download/v3.3.10/agate.x86_64-unknown-linux-gnu.gz
gzip -d agate.x86_64-unknown-linux-gnu.gz
mv agate.x86_64-unknown-linux-gnu agate
chmod +x agate
Gemini requires SSL, and it prefers a self-signed certificate. Agate will generate an SSL certificate with a very long expiration date and place it in the .certificates folder as specified in the following command.
cd /home/gemini
./bin/agate --content /home/gemini/capsule \
            --certs /home/gemini/.certificates \
            --addr [::]:1965 \
            --addr 0.0.0.0:1965 \
            --hostname example.com \
            --lang en-US
If you execute the command above for the first time, Agate will let you know it has created the .certificates directory and generated the required certificates for the specified hostname. If there are no errors, your server is live and listening to the incoming traffic. To test your capsule, open the URL gemini://example.com in a Gemini browser. I use Lagrange as a GUI-based application on my computer and smartphone (Android), and Amfora on the Linux terminal. However, there are several browsers/clients available to choose from https://github.com/kr1sp1n/awesome-gemini?tab=readme-ov-file#clients.
Enable Agate as a System Service
Once you have verified that your server is set up properly, you may want to register it as a service so that you can use the systemctl command to start, stop, and check the server’s status. This will also help restart the server automatically upon a system reboot.
To configure systemd, create a service unit in the system folder and place the commands as listed below.
sudo vim /etc/systemd/system/agate.service
[Unit]
Description=Agate Gemini Server
After=network.target

[Service]
Type=simple
User=gemini
Group=gemini
ExecStart=/home/gemini/bin/agate --content /home/gemini/capsule/ --certs /home/gemini/.certificates --addr [::]:1965 --addr 0.0.0.0:1965 --hostname example.com --lang en-US

[Install]
WantedBy=default.target
Then start the service and check the status by:
sudo systemctl start agate.service

sudo systemctl status agate.service
To make the server start automatically after the system reboot:
sudo systemctl enable agate.serviceAdding Content
Now that your server is running, it’s time to add some actual content in the /home/gemini/capsule folder you created above. Here is a Git repository with some example .gmi files from my capsule https://codeberg.org/rohitfarmer/gemini-capsule-example.